Day 24: Docker - Deploying Node.js Application with Docker - A Quick Guide
Experienced Senior DevOps Engineer with a passion for optimizing software development and delivery processes. Excels in designing and implementing CI/CD pipelines, automating infrastructure, and optimizing cloud architectures. Proficient in a wide range of DevOps tools such as Docker, Kubernetes, Jenkins, Ansible, Git, and AWS services. Strong collaborator, adept at fostering cross-functional teamwork and continuous improvement. Thrives in dynamic environments, utilizing problem-solving skills to overcome complex challenges. Dedicated to delivering high-quality software products on time and within budget.
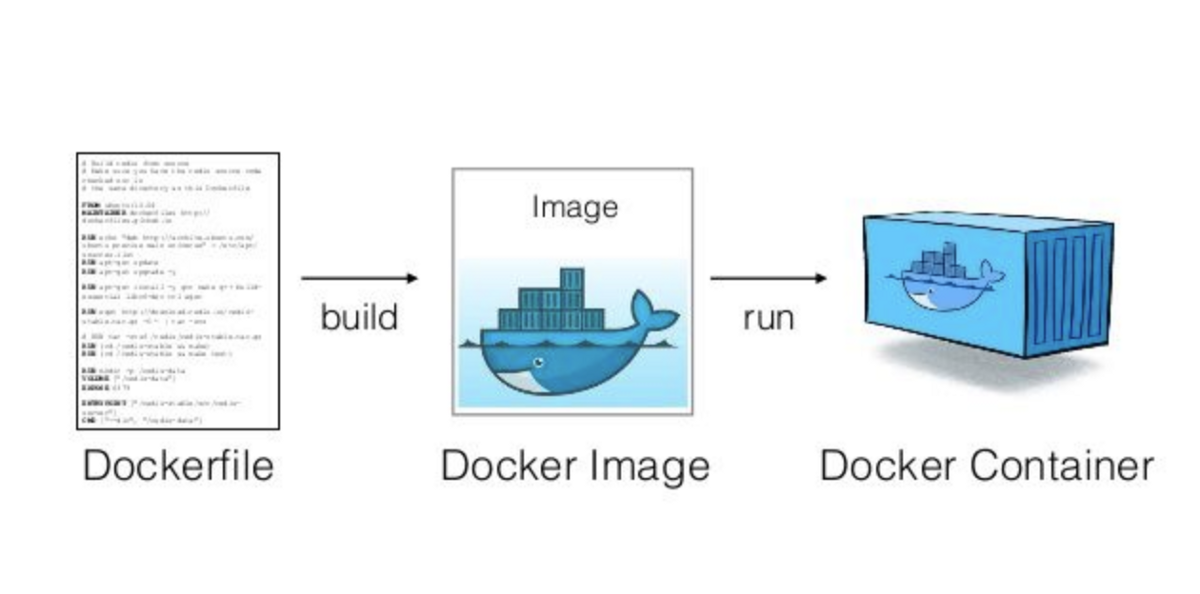
A Dockerfile is a plain text configuration file that contains instructions for building a Docker image. An image is a lightweight, standalone, executable software package that includes everything needed to run a piece of software, including the code, runtime, system tools, libraries, and settings. Docker images are the building blocks of containers, which are instances of images that can be run as isolated environments.
You create a Dockerfile to define the steps and components required to create a specific Docker image. Each instruction in a Dockerfile represents a layer in the image's filesystem. Docker uses these layers to efficiently manage and distribute images.
When to Create a Dockerfile:
Custom Application Images: When you want to package your application along with its dependencies and configurations into a Docker image.
Version Control: Dockerfiles provide a way to version control and reproduce your images, ensuring consistency across different environments.
Automated Builds: Dockerfiles enable automated builds, which are triggered whenever code changes occur, resulting in consistent and up-to-date images.
Collaboration: Sharing Dockerfiles allows others to recreate the same image and environment you've defined.
Scalability: Docker images are portable and can be easily scaled up or down, making them suitable for microservices architectures.
Here are some common commands used in a Dockerfile, along with explanations:
Certainly! Let's go through each component of a Dockerfile in detail and provide examples for better understanding:
FROM: Specifies the base image upon which your Docker image is built.
FROM ubuntu:20.04In this example, we're using the Ubuntu 20.04 base image as the foundation for our Docker image.
RUN: Executes commands in the image's shell during the build process.
RUN apt-get update && apt-get install -y package-nameThis command updates the package repository and installs a package named
package-name.COPY: Copies files and directories from the build context (your local machine) into the image.
COPY source-destination /app/This command copies the contents from the
source-destinationon your local machine into the/app/directory within the image.ADD: Similar to COPY, but with additional features like remote URL support and automatic file extraction.
ADD https://example.com/file.tar.gz /app/This command adds a remote archive to the
/app/directory within the image and automatically extracts it.WORKDIR: Sets the working directory for subsequent commands in the Dockerfile.
WORKDIR /appThis command sets the working directory to
/appwithin the image.ENV: Sets environment variables in the image.
ENV PORT=8080This command sets an environment variable
PORTwith the value8080.EXPOSE: Specifies which ports the container will listen on at runtime.
EXPOSE 80/tcpThis command exposes port 80 within the container for network communication.
CMD: Provides the default command to run when a container starts.
CMD ["npm", "start"]This command sets the default command to run when the container starts:
npm start.ENTRYPOINT: Similar to CMD, the command and arguments are not overridden when running the container with additional arguments.
ENTRYPOINT ["node", "app.js"]This command specifies the entry point command and arguments.
VOLUME: Creates a mount point as a volume.
VOLUME /dataThis command creates a volume at
/datawithin the container.USER: Sets the user or UID for the subsequent commands in the Dockerfile.
USER appuserThis command switches the user to
appuserfor the following commands.ARG: Defines build-time variables that can be used in the Dockerfile.
ARG VERSION=latestThis command sets an argument
VERSIONwith a default value oflatest.LABEL: Adds metadata to the image in key-value pairs.
LABEL maintainer="user@example.com"This command adds a label indicating the maintainer's email to the image.
ONBUILD: Executes instructions when the image is used as a base image for another build.
ONBUILD COPY . /appThis command copies the build context to
/appwhen the image is used as a base.
Each component in a Dockerfile serves a specific purpose and contributes to building a self-contained and reproducible Docker image for your application. By combining these components effectively, you can define the entire process of setting up, configuring, and running your application within a container.
A step-by-step guide to deploying a Node.js application using a Dockerfile:
Assumptions:
You have a working Node.js application with an "app.js" file that creates a simple Express.js server.
Your application listens on port 3000.
Step 1: Set up the project directory and files
Create a new directory for your Node.js application and navigate to it:
mkdir my_node_app
cd my_node_app
Create an "app.js" file with the following code:
const express = require('express');
const app = express();
const port = 3000;

app.get('/', (req, res) => {
  res.send('Hello World, Welcome to TechWithAnkush WebPage');
});

app.listen(port, () => {
  console.log(`Server is running on http://localhost:${port}`);
});
Step 2: Initialize the Node.js application and install dependencies
Initialize the Node.js project and create a "package.json" file:
npm init -y
Install Express.js, a popular web framework for Node.js:
npm install express
Step 3: Test the application
You can test your application without Docker by running it directly using Node.js:
node app.js
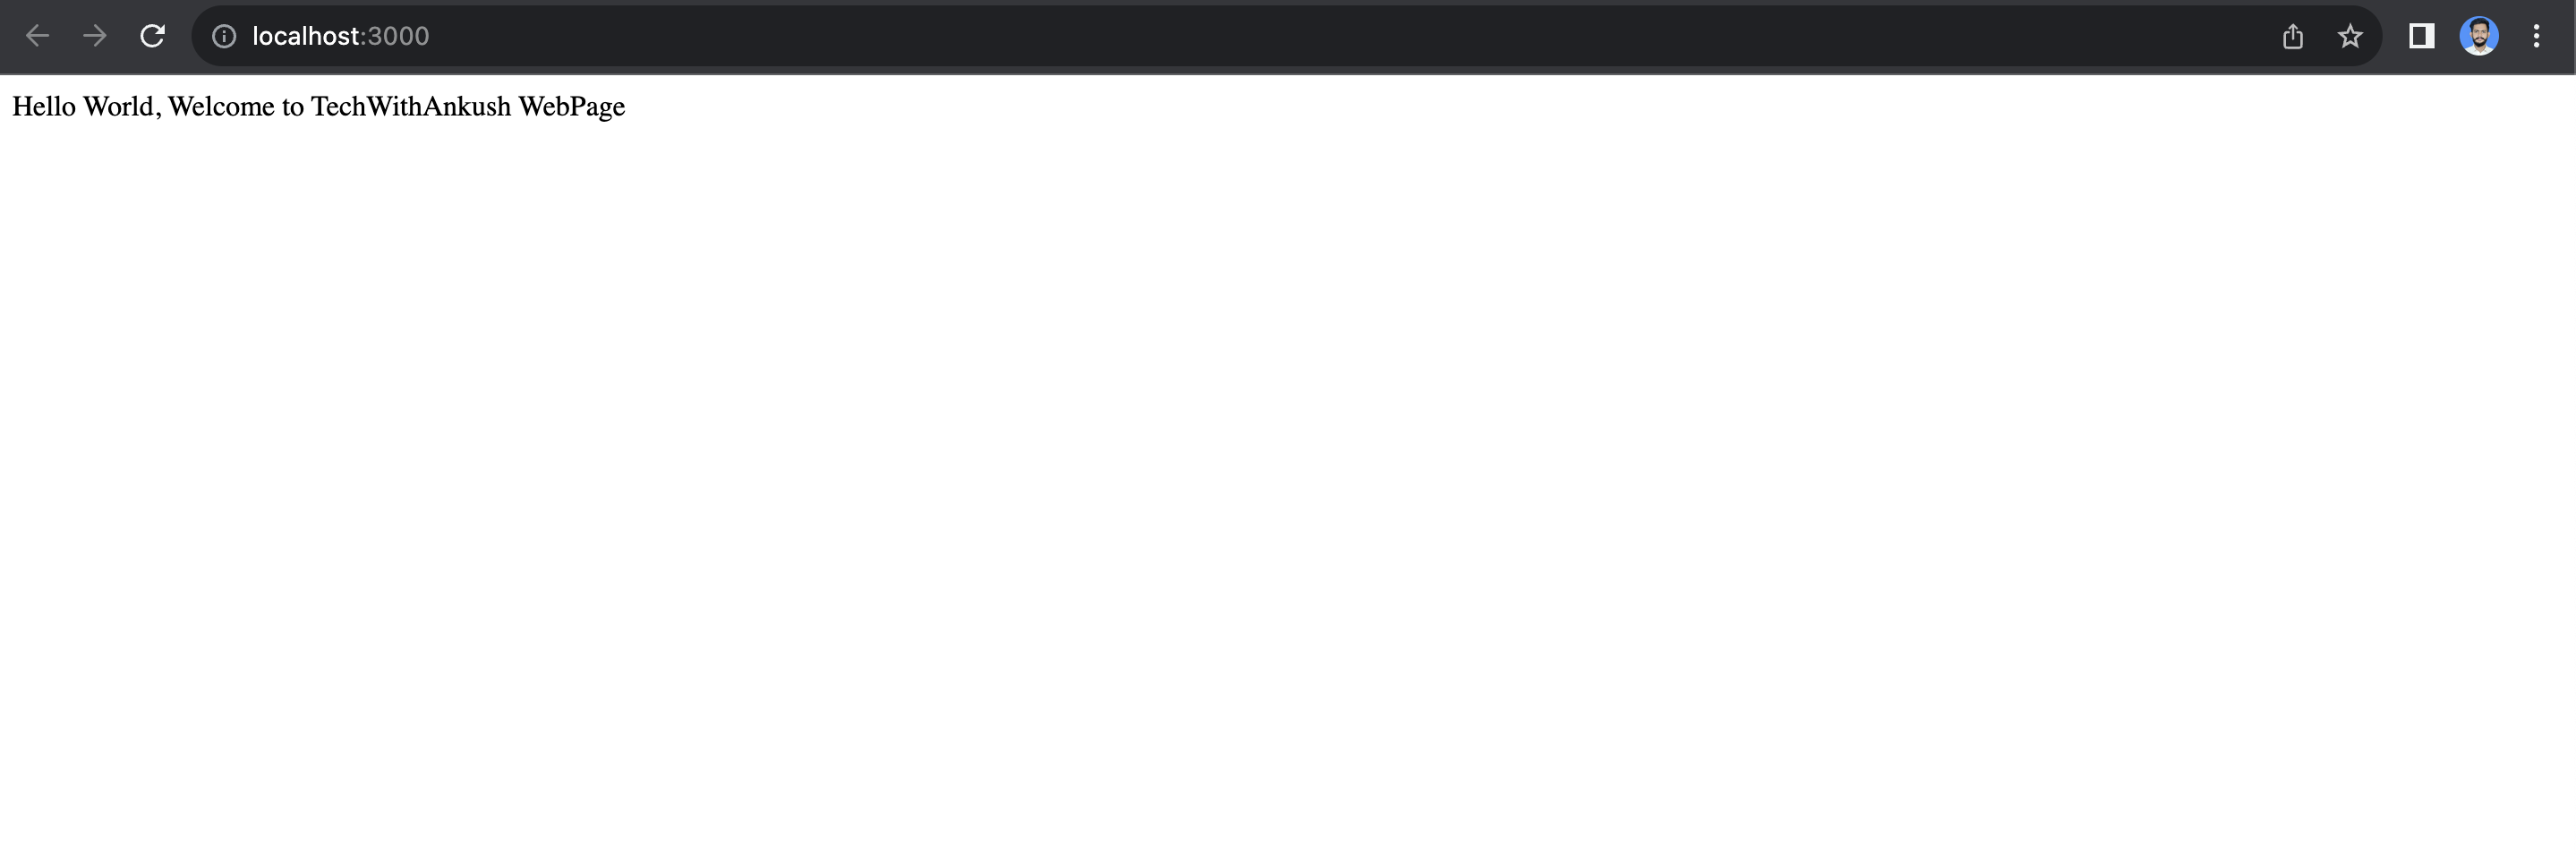
Your Node.js application should now be running, and you can access it at http://localhost:3000, where you should see the "Hello, World!" message.
Step 4: Create the Dockerfile
Create a new file named "Dockerfile" (without any file extensions) in the root directory of your Node.js application.
Open the Dockerfile in a text editor and add the following content:
# Use an official Node.js runtime as a base image
FROM node:14

# Set the working directory inside the container
WORKDIR /app

# Copy the package.json and package-lock.json files into the container
COPY package*.json ./

# Install application dependencies
RUN npm install

# Copy the rest of the application code into the container
COPY . .

# Expose the port on which the Node.js app runs
EXPOSE 3000

# Define the command to start your Node.js application
CMD ["node", "app.js"]
Save the Dockerfile.
Step 5: Build the Docker image
Open a terminal or command prompt and navigate to the directory containing the Dockerfile and your Node.js application files.
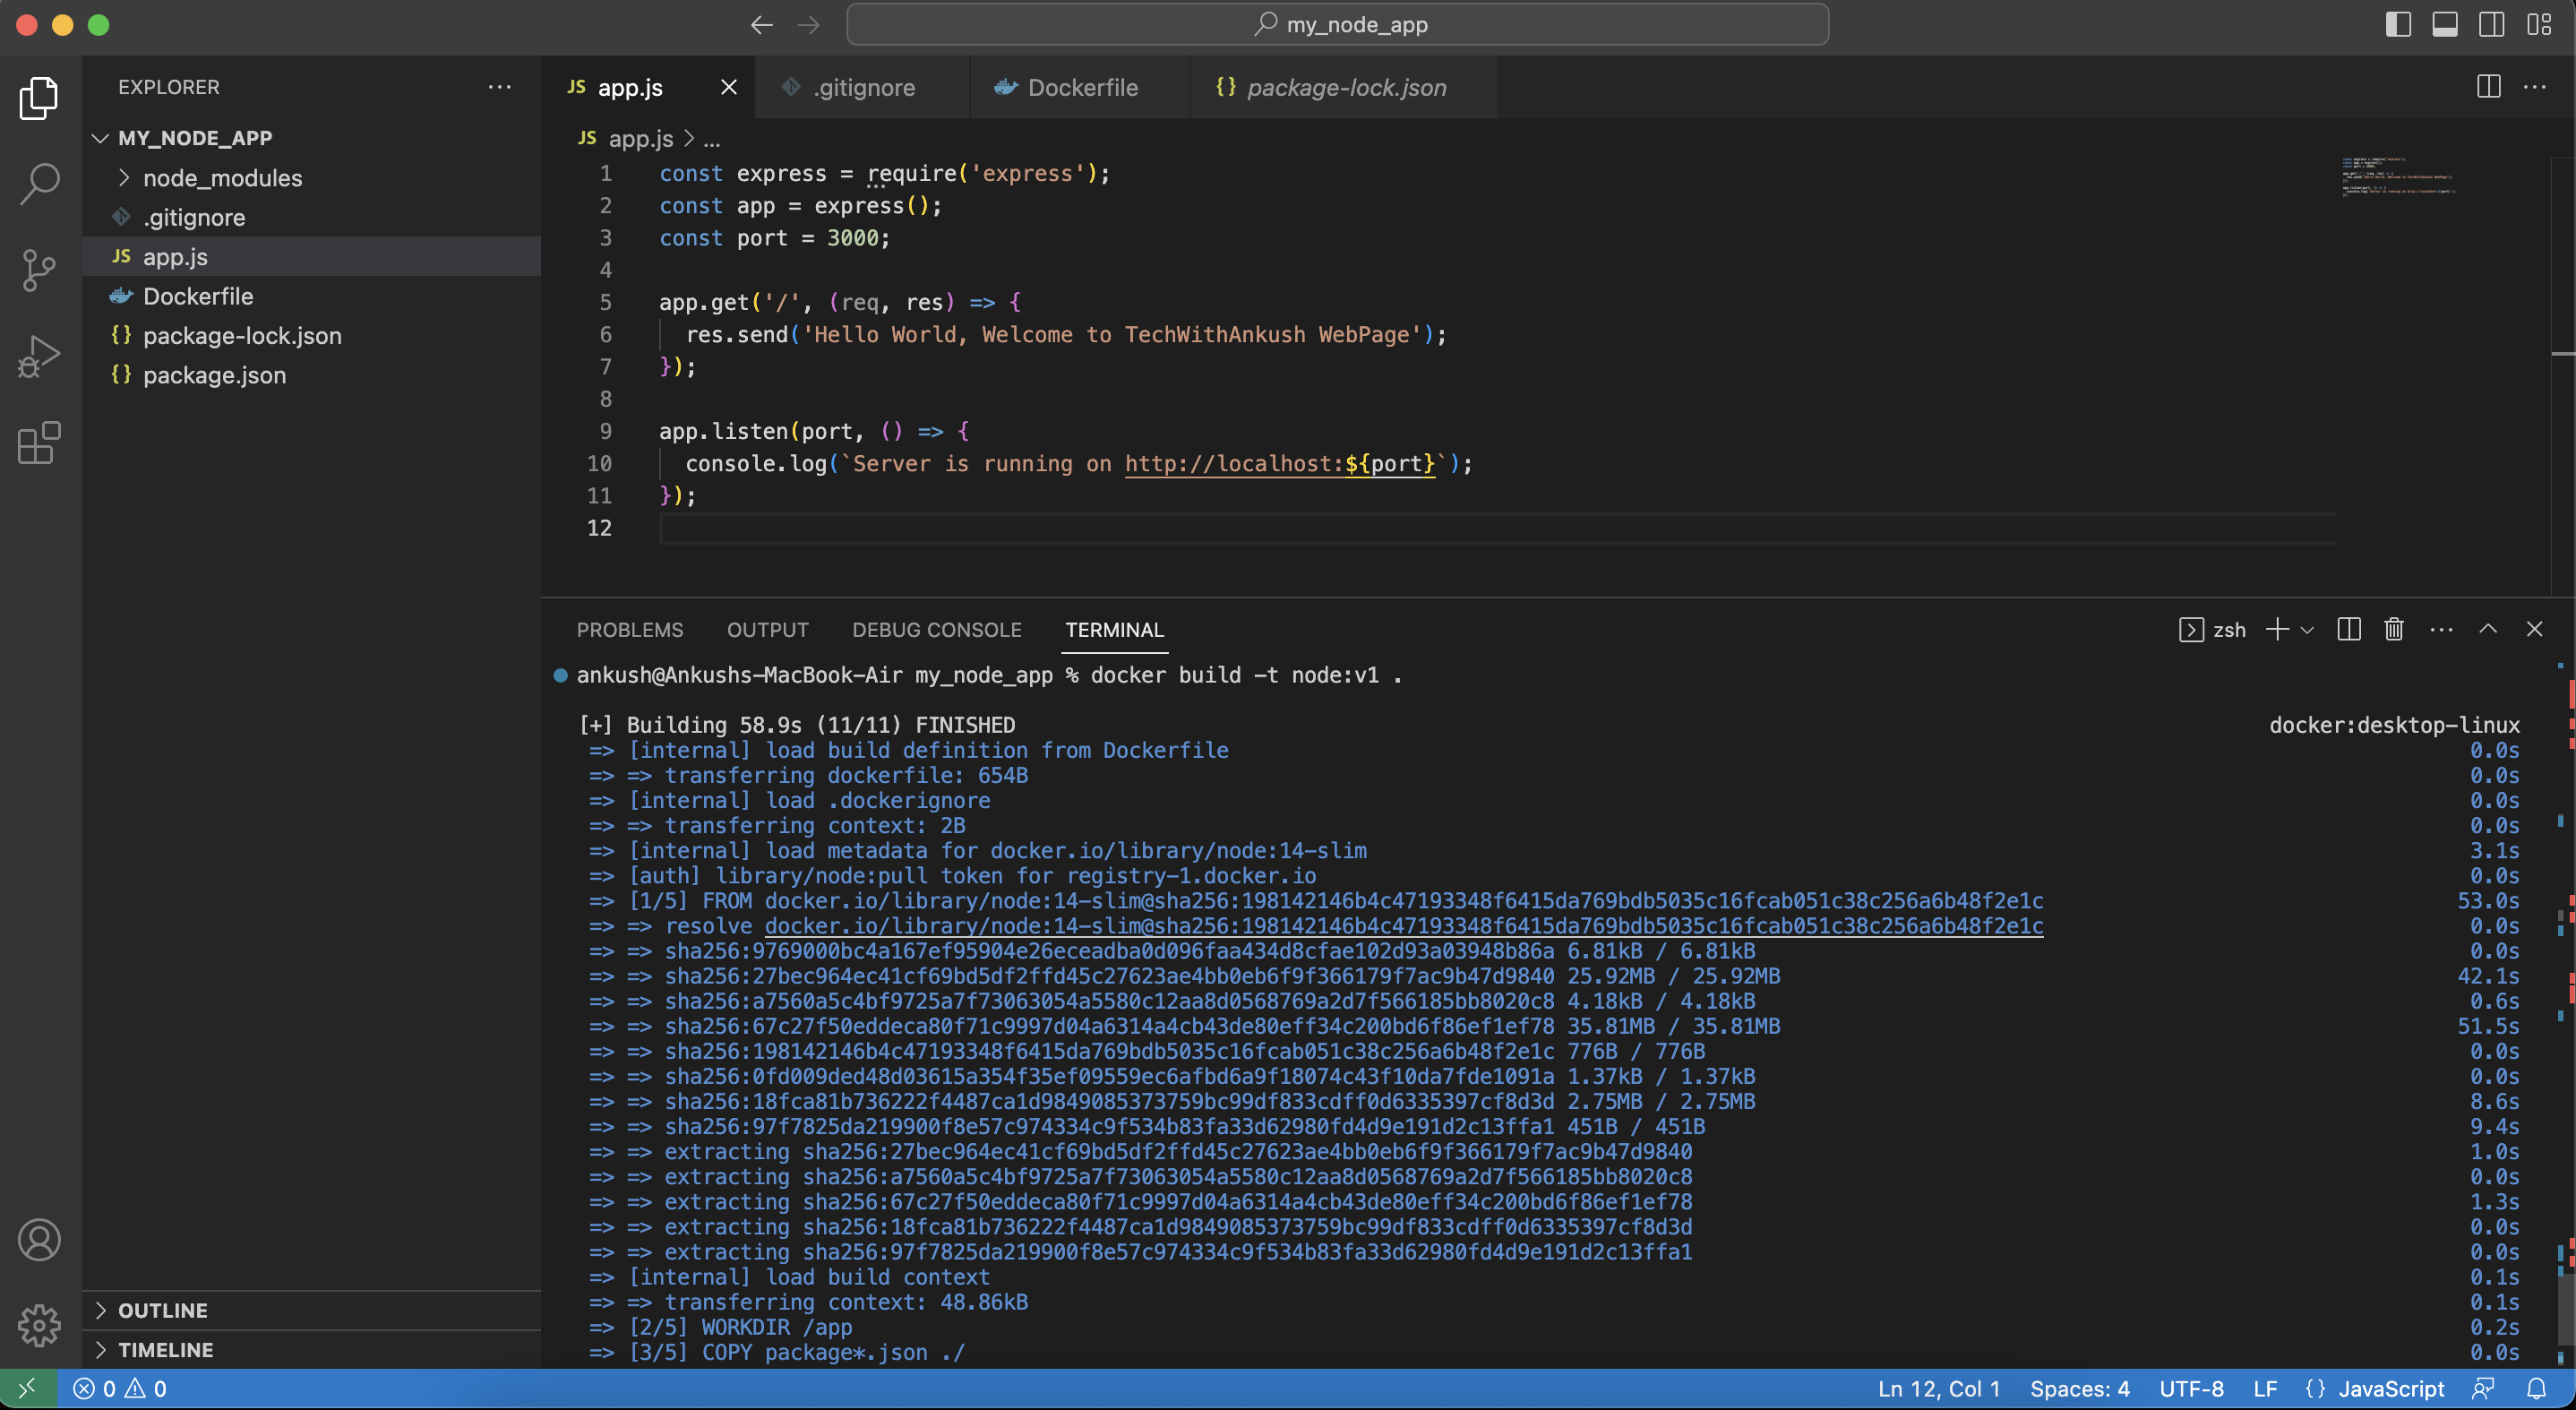
Build the Docker image using the following command. Replace "my-node-app" with the desired image name, and the period "." specifies the current directory as the build context:
docker build -t node:v1 .
Step 6: Run the Docker container
Once the image is built, you can run the container from the image using the following command:
docker run -p 3000:3000 node:v1
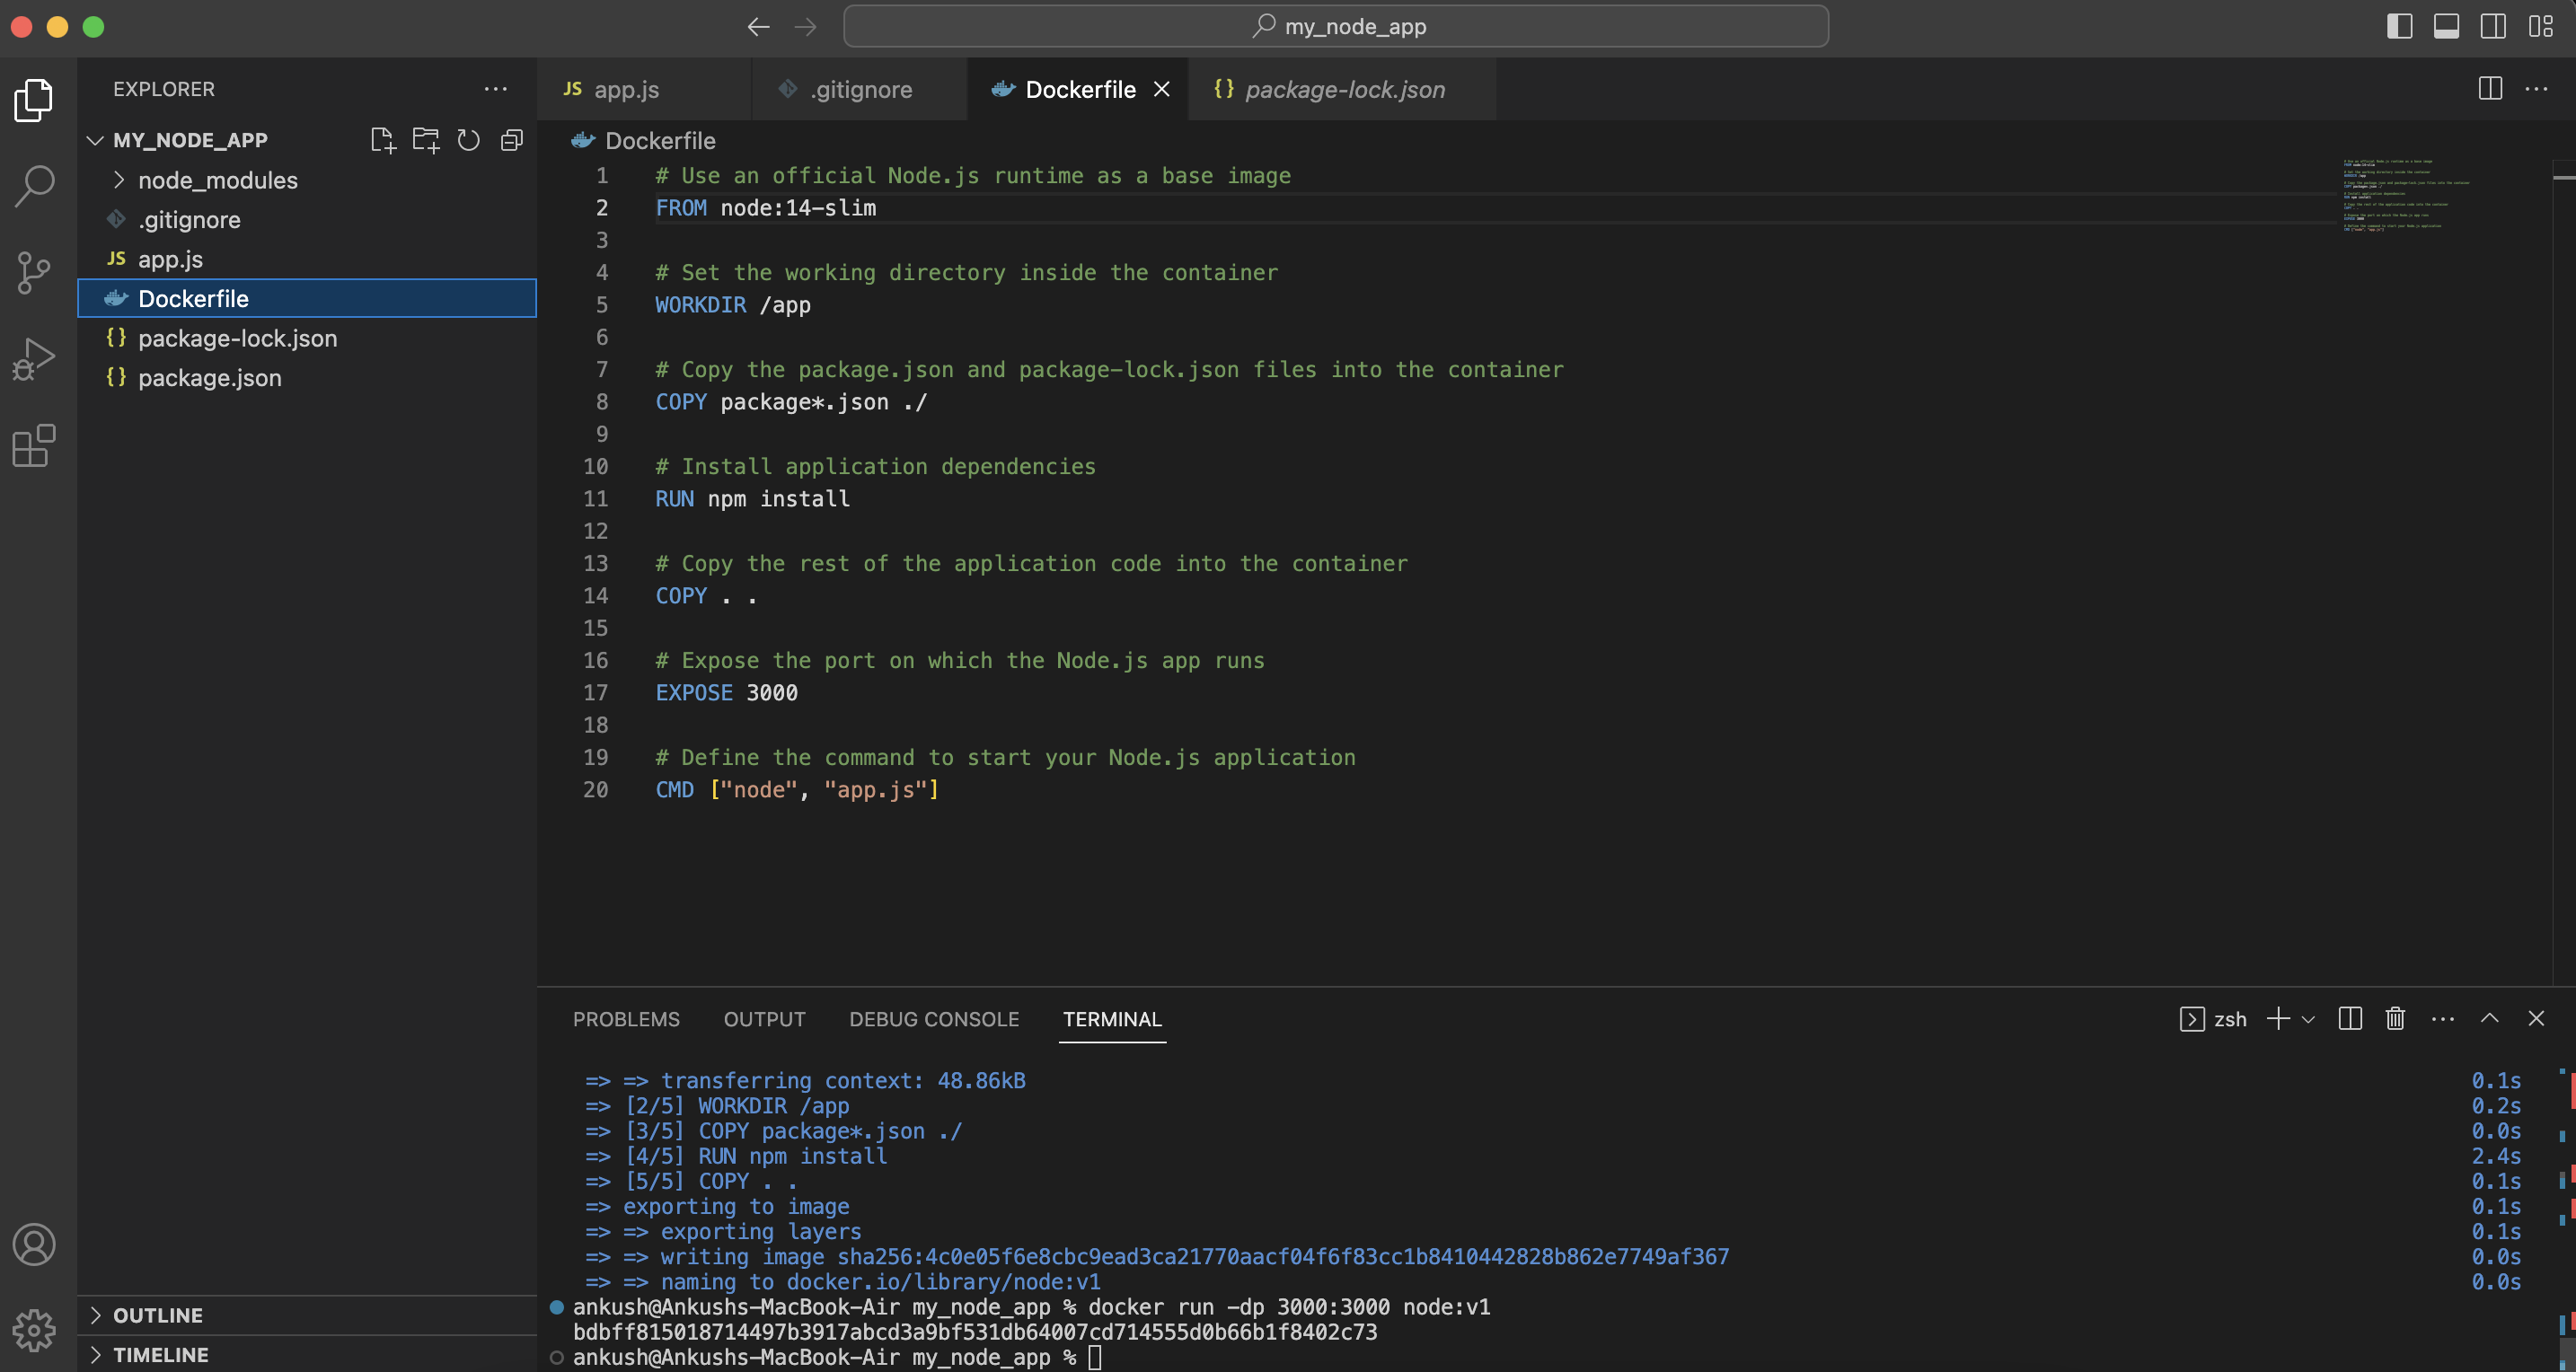
Your Node.js application is now running inside a Docker container, and you can access it at http://localhost:3000, just like before.
That's it! You've successfully deployed a Node.js application using Docker. Now you can share the Docker image with others or deploy it to a container orchestration platform like Kubernetes for scalable deployments.
Thanks for reading! I hope you found this blog informative and insightful. For more technology-related content, don't forget to follow me on GitHub and LinkedIn


